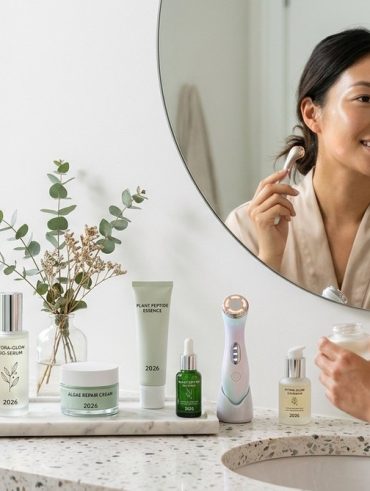
Skincare in 2026 is shaping up to be more personalized, science-driven, and mindful than ever before. As new ingredients, technologies, and holistic approaches emerge, it’s exciting to see how your ro…
Your insider guide to skincare, makeup, and beauty trends.
Skincare in 2026 is shaping up to be more personalized, science-driven, and mindful than ever before. As new ingredients, technologies, and holistic approaches emerge, it’s exciting to see how your ro…
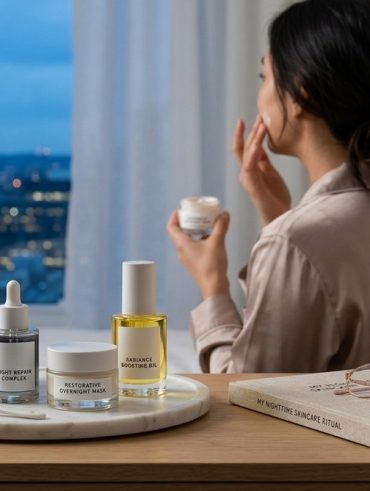
Getting glowing skin in the morning starts the night before. A well-structured nighttime skincare routine is your secret weapon for waking up with radiant, healthy-looking skin. In 2026, skincare tech…

Choosing the right fragrance can feel overwhelming. With so many scents, concentrations, and notes, it’s easy to wonder which perfume suits your mood and the occasion. The goal is to find a scent that…

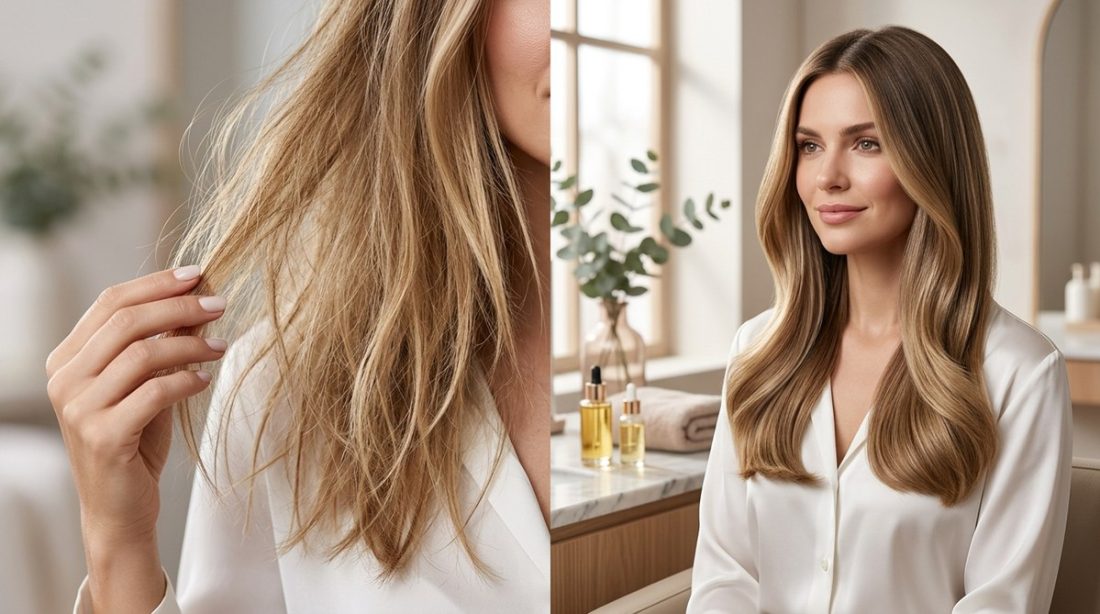
Looking to add more bounce and fullness to your hair without resorting to heavy products or chemicals? Achieving natural volume is possible when you understand your hair and scalp better. With simple …

Looking to wear a bold lip confidently all day long? Achieving a vibrant, statement-making lip that stays put through meetings, meals, and drinks is easier than you think. It’s about using the right p…
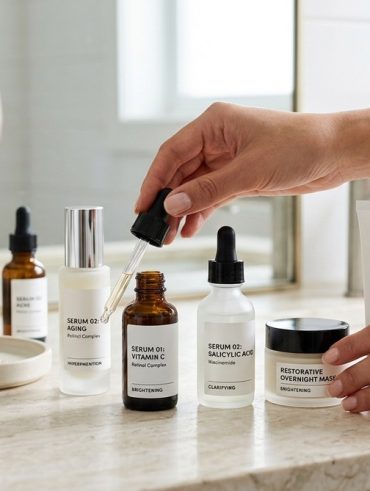
Skincare issues can feel overwhelming. You might be frustrated by stubborn pimples, dullness, dark spots, or fine lines. The good news is that understanding your skin concerns helps you choose the rig…
Dry skin on your body feels different than dry skin on your face. It’s tighter, flakier, and often shows up in patches you didn’t even know existed until you put on that black dress. Your arms feel ro…
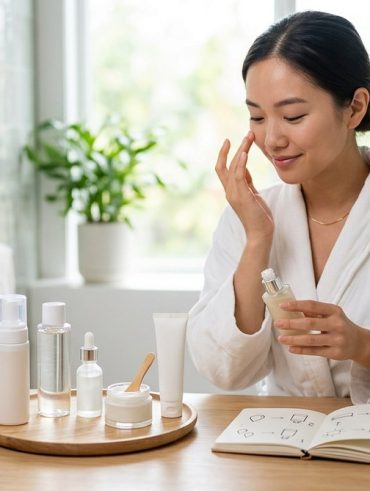
Starting your first skincare routine feels like standing in front of a wall of products with no idea where to begin. You’ve seen the 10-step routines on social media and the ingredient lists that look…

You’re standing at the drugstore checkout with a cart full of skincare, and the total is $87. You hand over three coupons, scan your rewards app, and mention a rebate offer. The cashier rings everythi…
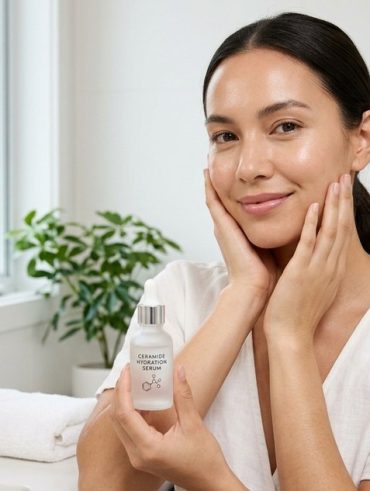
Skincare routines can feel overwhelming with so many ingredients claiming to transform your skin. Among these, ceramides stand out as a fundamental component in maintaining a healthy moisture barrier….